IronMQ v3 Migration Guide
IronMQ v2 is Officially Deprecated and Will Only Return Errors
IronMQ v3 is the next generation queue from Iron.io. We built it from the ground up to be fast, reliable and predictable; even when faced with fluctuating workloads. We recommend that all v2 users migrate to v3 to take advantages of these stability and performance improvements.
The basic process is to create new queues, update any client libraries you are using, and audit any code to use the new libraries.
Review the changes between IronMQ v2 and v3 before you begin the migration process.
Step 1: Create IronMQ v3 Queues
Queue Migration
- Log into the new Hud-e dashboard.
- Create a new project using the “+ New Project” button.
- In the new project, choose a cluster region from the cluster dropdown menu.
- Create a new queue using the “Create Queue” button.
After you go to your Hud-E account, if you do not see your queue, don’t worry! In the new HUD-e dashboard you can switch between cluster views to show queues specific to the selected cluster.
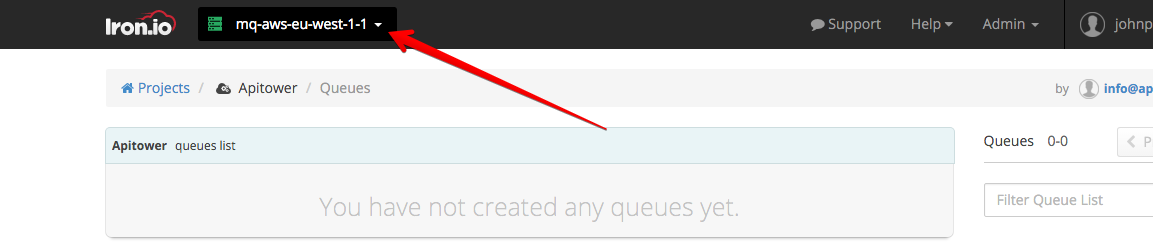
If your queues were in aws-us-east-1, you will need to select that mq-aws-us-east-1-1 to view them.
Step 2: Update your Iron.io client library
The v2 client libraries will NOT work with IronMQ v3.
Official client libraries
Update the client libraries for your projects. The libraries are available through our Dev Center and github.
If you have any questions, please contact the Iron.io support team.
Community support client libraries
If you are using a third party library, you should check with the maintainer for updates. If there are no updates, you may need to alter the library yourself to reflect the new IronMQ v3 API. See the IronMQ v3 changelog for an overview of what is changed, and how you should update the client to be compatible with v3.
Step 3: Audit Your App
Review the changes between IronMQ v2 and v3 to help you better know which parts of your code needs to be updated.
Now that you are using a v3-compatible client library, you will need to audit your codebase
to ensure it uses the new post-reserve-delete workflow. Here is a list of issues to look for:
- Use
reserveinstead ofget. The v2getAPI method has been replaced by v3’sreserve - Create your queues with reasonable default message timeouts. All reserved messages automatically time out after that default duration unless otherwise specified in the API call. You can specify these timeouts in the create queue call
- Keep track of reservation IDs. The delete call will fail without it if you try on a reserved message
- Ensure reservations are not timing out frequently. If they are, increase the message timeouts so that your code has more time to process each message
Differences and changes between IronMQ v2 and v3
See IronMQ v3 Basics for the full API Reference.
Understand post-reserve-delete
We designed v3 to be as similar as possible to v2, but decided to make one
conceptual difference to the API: the post-reserve-delete workflow.
This workflow differs from v2’s post-get-delete, and here is how:
- v3’s introduces a
reservecall for clients to use. This call replaces v2’sgetcall. - v3’s
getis only intended to view a message, not for processing it reservereturns areservation_id, which must be used in later calls to delete or release the message, or extend its reservation
Other notable changes
- Can no longer set timeout when posting a message, only when reserving one.
- The webhook URL has changed.
- Push queues must be explicitly created. There’s no changing a queue’s type.
See IronMQ v3 Basics for a full list of changes.